


Let's deploy our REST API to production 🚀
From localhost to the world 🌏

Today I will show you how to deploy a REST API to a production Kubernetes cluster, using Gimlet 🚀
Let’s get started!
You can find all the source code in this repository
Give it a star ⭐ on Github to support my work
The problem
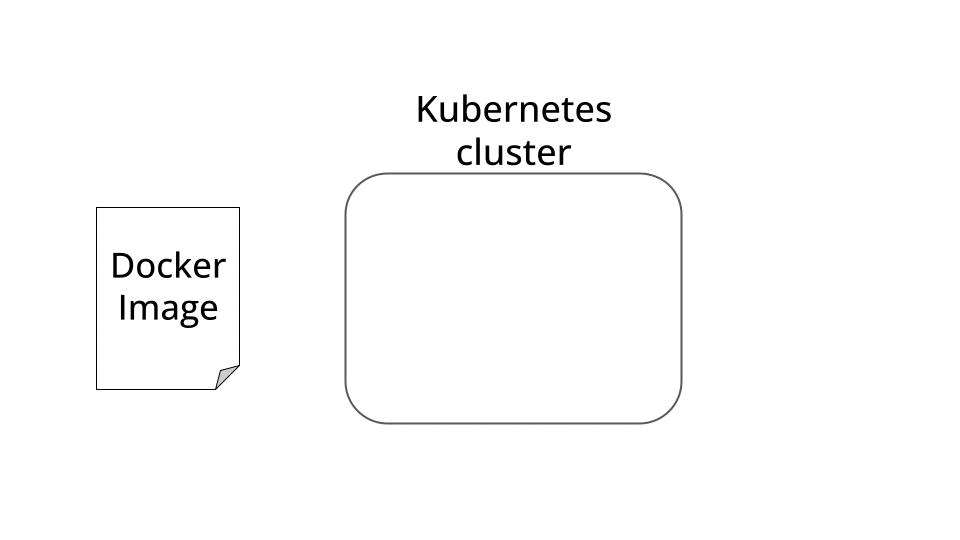
Two weeks ago we built a REST API to serve historical data on taxi rides in NYC. And last week we wrote a professional Dockerfile to package it inside a Docker image.
The API works like a charm on our laptop…
But the thing is, until you don’t deploy it to a production environment, and make it accessible to
your clients 💁🏻♀️
your colleagues 👨🏻💼
or even the whole world 🌏
your real-world impact is ZERO.
So today, I want to show you how to deploy this API to a production Kubernetes cluster.
So you build ML software that has real-world impact 🚀
What is Kubernetes? ☸📦
Kubernetes is an open-source container orchestration platform that automates the deployment, scaling, and management of your Dockerized apps
It is currently the most widely used container orchestration platform in the world, and it has become the de facto standard due to its robust features, large community support, and backing from major tech companies.
Kubernetes is a powerful beast. However, it has also one BIG problem…
The Kubernetes YAML HELL 🔥
The Kubernetes configuration file required to deploy even the simplest service is
very verbose,
error-prone and
excessively complex.
which adds too much friction (and frustration!) in your deployment process

So the question is
How can I deploy to Kubernetes, without going through YAML hell?
Here’s a the solution ⬇️
Gimlet to the rescue 🦸🏻
Gimlet is a tool that helps you quickly deploy your apps to your Kubernetes. Let me show you how.
📣 Attention 📣
In this example we will deploy our API to the Gimlet Kubernetes service, so we don’t need to go now through the process of spinning up a Kubernetes cluster from scratch.
However, everything I show you today transfers to ANY Kubernetes cluster.
Big and Small.
Startup and Enterprise.
ALL.Today you only need a Github account. Gimlet has a commercial license that you can use for personal projects for FREE.
Manual deployment 👆
Let’s do it!
Go to gimlet.io
Sign up for FREE using your Github username and
Import your github repository.
Go to your imported repository, and click on New Deployment, then pick
Manually deploy from a Dockerfile
From the Gimlet registry
Set your Dockerfile name (Dockerfile.2stage in my case), and
Set the port number your API is listening to (8000 in my case)
BOOM.
Your API is now available to the world!
What happens behind the scenes? 🕵️♂️
Behind the scenes, Gimlet generates and commits to your repo a YAML for this deployment, like this one.
This YAML is way more digestable than Kubernetes YAML files, so you can adjust directly, if you prefer, instead of clicking around the Gimlet UI. You choose.
What’s next? ⏭️
It feels great deploying to production.
However, this is not the end of the story. It is just the beginning.
Any piece of software needs to be iteratively updated over time. Hence, you need a fast and automatic way to transfer your code changes into new deployments.
How can you accomplish this?
Automatic deployments to the rescue 🦸🏻
The Gimlet Github action helps you automatically deploy your code changes to your Kubernetes cluster.
For example, you can add a github workflow like this to your repo, that
Triggers after every push to main branch
on:
  push:
    branches:
      - 'main'
Tests your code
tests:
    name: 🧪 Run tests
    runs-on: ubuntu-latest
    needs:
      - "cancel-previous-runs"
    steps:
      - name: ⬇️ Check out
        uses: actions/checkout@v4
      - name: 🐍 Set up Python 3.10
        uses: actions/setup-python@v4
        with:
          python-version: '3.10'
      - name: 📦 Install Poetry
        uses: snok/install-poetry@v1
      - name: 📦 Install dependencies
        run: poetry install
      - name: 🧪 Run tests
        run: poetry run pytest tests/
Builds and pushes the Docker image to your Docker registry (in this case, I use mine from Github)
docker-build:
    name: 📦 Docker build
    runs-on: ubuntu-latest
    needs:
    - "tests"
    steps:
    - name: ⬇️ Check out
      uses: actions/checkout@v4
    - name: 🐋 Set up Docker Buildx
      uses: docker/setup-buildx-action@v3
    - name: Login to GitHub Container Registry
      uses: docker/login-action@v3
      with:
        registry: ghcr.io
        username: ${{ github.repository_owner }}
        password: ${{ secrets.PAT }}
    - name: 🐋 Build and push docker image
      uses: docker/build-push-action@v6
      with:
        context: .
        file: Dockerfile.2stage
        platforms: linux/amd64
        push: true
        tags: ghcr.io/paulescu/taxi-data-api-python:${{ github.sha }}
And deploys it to Kubernetes using the Gimlet action.
deploy:
name: 🧑🚀 Deploy
runs-on: ubuntu-latest
needs:
- "docker-build"
if: github.ref == 'refs/heads/main'
environment: production
steps:
- name: ⬇️ Check out
uses: actions/checkout@v4
- name: 🚀 Deploy / Production
uses: gimlet-io/gimlet-artifact-shipper-action@v0.9.0
with:
DEPLOY: "true"
ENV: "electric-paper"
APP: "taxi-data-api-python"
env:
GIMLET_SERVER: ${{ secrets.GIMLET_SERVER }}
GIMLET_TOKEN: ${{ secrets.GIMLET_TOKEN }}Secrets 🤫
To use the Gimlet Github action you need to set the GIMLET_SERVER and GIMLET_TOKEN as secrets in your Github repository.
You can get these values by clicking on this link.
Continuous delivery made simple.
BOOM!
You can find all the source code in this repository
Give it a star ⭐ on Github to support my work
Now it is your turn 🫵
Take your favourite app.
Write a dockerfile for it.
Manually deploy it to Gimlet in a few clicks.
And automate the whole process with the Gimlet action.
You will feel great. I promise.
Happy deployments!
Talk to you next week,
Pau