
Docker Compose for ML Engineers

Here is a 5-minute crash course on Docker Compose for Machine Learning.
Let’s get to it!
Wanna get more real-world MLOps videos for FREE?
→ Subscribe to the Real-World ML Youtube channel ←
Why Docker Compose?
Docker is great, because it makes your ML code 100% portable
from your local development environment, to
the production environment, for example a Kubernetes Cluster.
However, Docker alone is often not enough when you develop real-world ML apps.
Why?
Because ML applications
are not all-in-one monoliths, that you can dockerize into a single container,
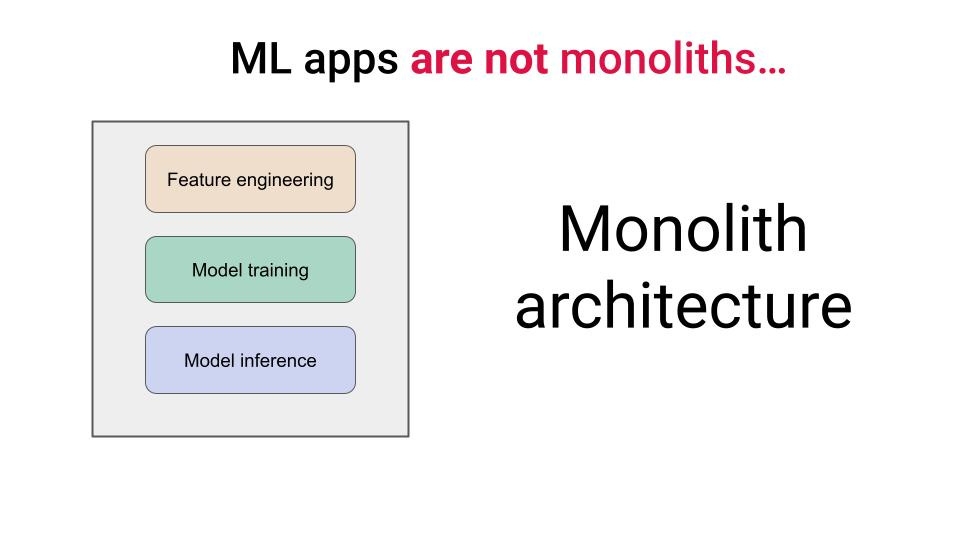
but multiple independent services that communicate through a shared message bus, like Apache Kafka or Redpanda.

This is the micro-services way of building software, that applies to ML engineering as well.
So, when you develop your services locally, and want to test they work as expected, you need a tool that helps you define, build and run multi-container Docker applications in your local environment.
And this is precisely what Docker Compose helps you with.
Let’s go through a step-by-step example.
Example
All the code that I show here is available in this Github repository.
→ Give it a star ⭐ on Github to support my work.
Let’s develop and build a real-time feature pipeline with the help of Docker Compose.
Our real-time feature pipeline has 3 steps:
trade_producer(producer)→ reads trades from the Kraken Websocket API and saves them in a Kafka topic.trade_to_ohlc(transformation) → reads trades from Kafka topic, computes Open-High-Low-Close candles (OHLC) using Stateful Window Operators, and saves them in another Kafka topic.ohlc_to_feature_store(consumer) → saves these final features to an external Features Store.
Each of these steps is implemented as an independent service
real-time-feature-pipeline
├── ohlc_to_feature_store
│   ├── main.py
│   └── requirements.txt
├── trade_producer
│   ├── main.py
│   └── requirements.txt
└── trade_to_ohlc
    ├── main.py
    └── requirements.txt
and communication between them in production happens through a message bus like Redpanda.
Let’s fully dockerize this stack, using Docker Compose, in 4 steps.
Step 1 → Write a Dockerfile for each service
For each service you need to write and commit a Dockerfile, that defines the Docker image
real-time-feature-pipeline
├── ohlc_to_feature_store
│   ├── Dockerfile
│   ├── main.py
│   └── requirements.txt
├── trade_producer
│   ├── Dockerfile
│   ├── main.py
│   └── requirements.txt
└── trade_to_ohlc
    ├── Dockerfile
    ├── main.py
    └── requirements.txt
In this case, our Dockerfiles would look as follows:

👉 If you don’t know how to write a Dockerfile, take a look at last week’s newsletter
Step 2 → Write the docker-compose.yml file
The Docker compose file is a YAML file you write and commit in the root of your directory.
real-time-feature-pipeline
├── docker-compose.yml
├── ohlc_to_feature_store
│   ├── Dockerfile
│   ├── main.py
│   └── requirements.txt
├── trade_producer
│   ├── Dockerfile
│   ├── main.py
│   └── requirements.txt
└── trade_to_ohlc
    ├── Dockerfile
    ├── main.py
    └── requirements.txt
In the the docker-compose you specify the list of services you need to spin up, in this case:
The 3 pipeline steps: trade_producer, trade-to-ohlc and ohlc-to-feature-store, and
The Redpanda message broker used by these services to communicate, that requires two independent services: redpanda and redpanda-console

Now, for each of these service, you need to provide
build instructions, including path to Dockerfile or any required environment variables, and
runtime information, like number of replicas or forced restarts for your containers.
For example, this is what the trade-producer section looks like:

Step 3 → Build your services
From the root directory of your project run
$ docker-compose buildto build your full stack, including the 5 services and the necessary networking for them to communicate.
Step 4 → Run your entire stack
To run and test your entire stack locally, you simply run
$ docker-compose up -dAnd if works, YOU ARE DONE.
Because this is the magic of Docker and Docker Compose.
If it works on your laptop. It also works on production.
Wanna learn to build real-world apps?
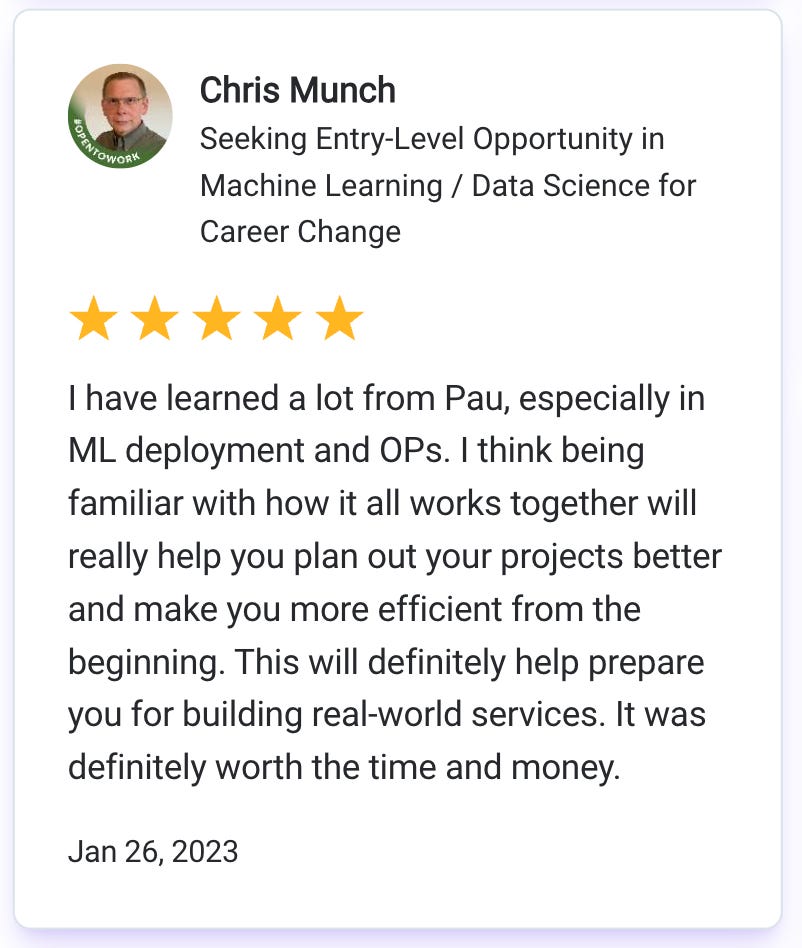
One year ago I launched the Real-World ML Tutorial, and since them, more than 300 students have enrolled, from Chris Munch, who has built this amazing NBA game predictor service
to William, who just completed it and feels ready to build his own thing.

If you wanna take the next step in your ML journey, and start building real-world ML apps, get LIFETIME access to the Real-World ML Tutorial and Community.
You will get lifetime access to
→ 3 hours of video lectures and slides 🎬
→ Full source code implementation of the system 👨💻
→ Discord private community, to connect with me and 300+ students 👨👩👦
🎁 Gift
Use this direct payment link until next Friday and get a 40% discount ($90 instead of $150)
Let’s keep on learning,
Peace and Love
Pau